Incase you still have the spindle apart here is a quick review on assembly.
Ok .. lets get the head back together

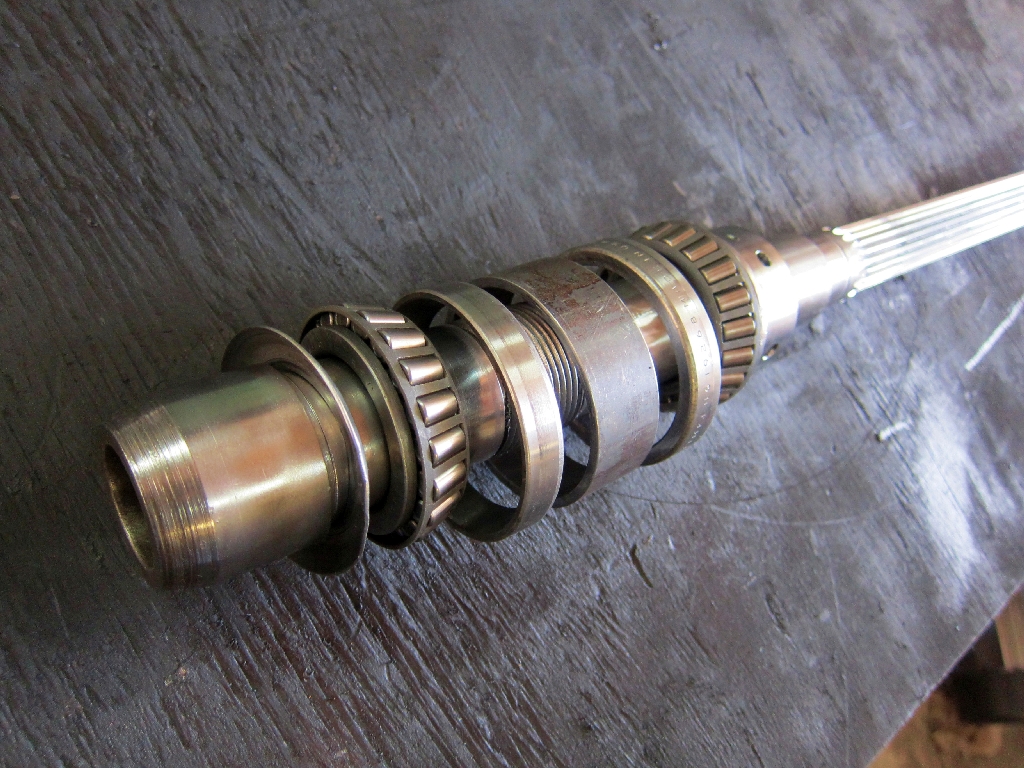

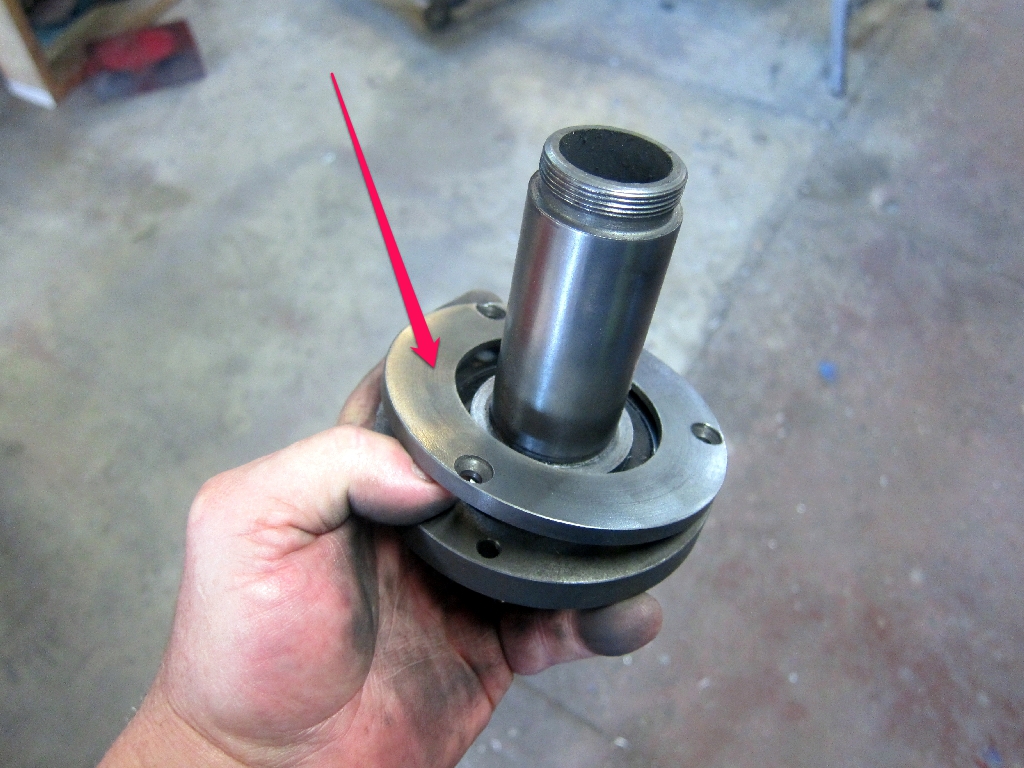
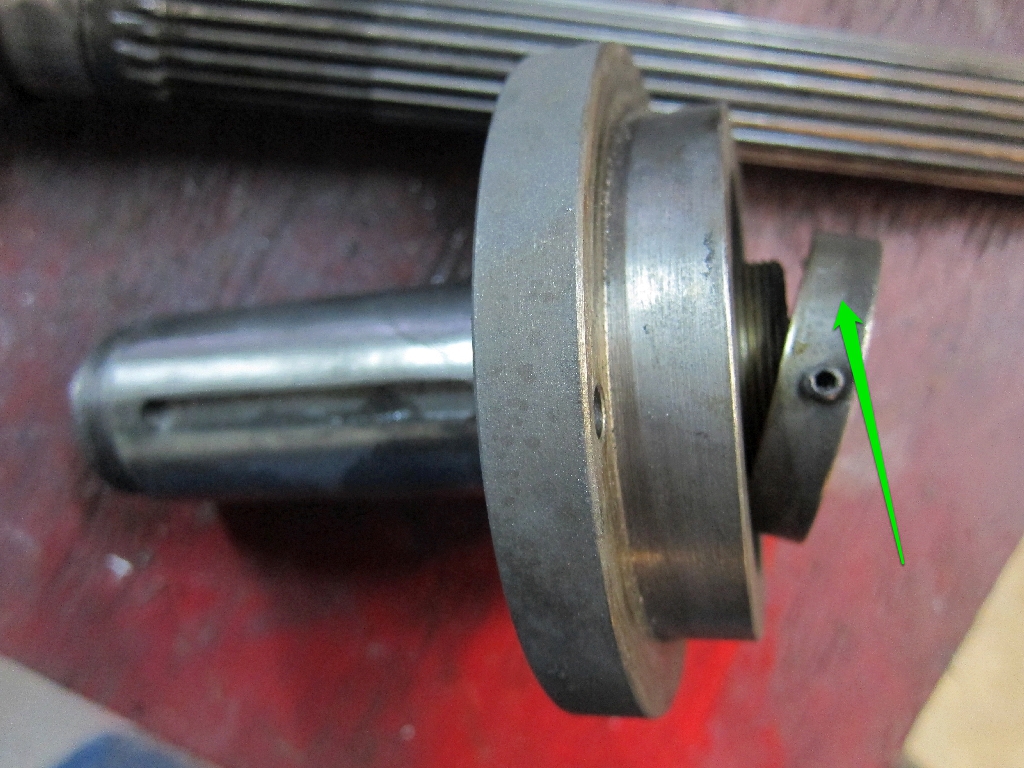
Put the bearing back together and tighten the bearing take-up nut untill there is just a hint of drag.
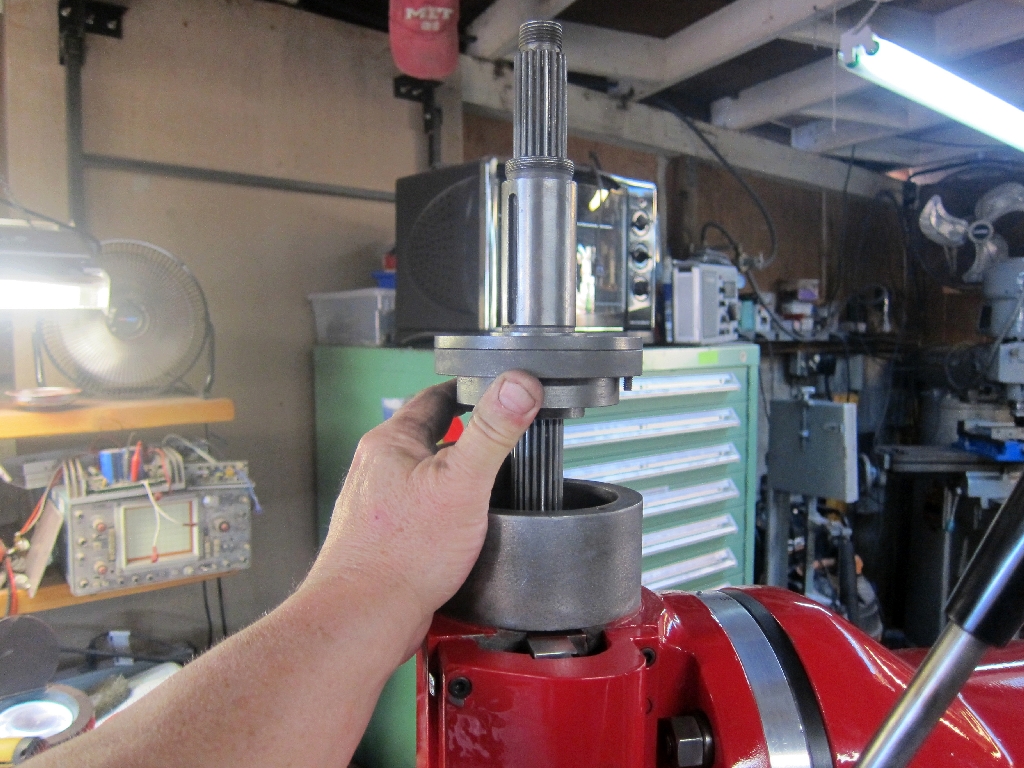
Slide everything back into the quill and tighten the quill nut. Remember that it is reverse threaded.
Flip it over and put the snap ring back on.
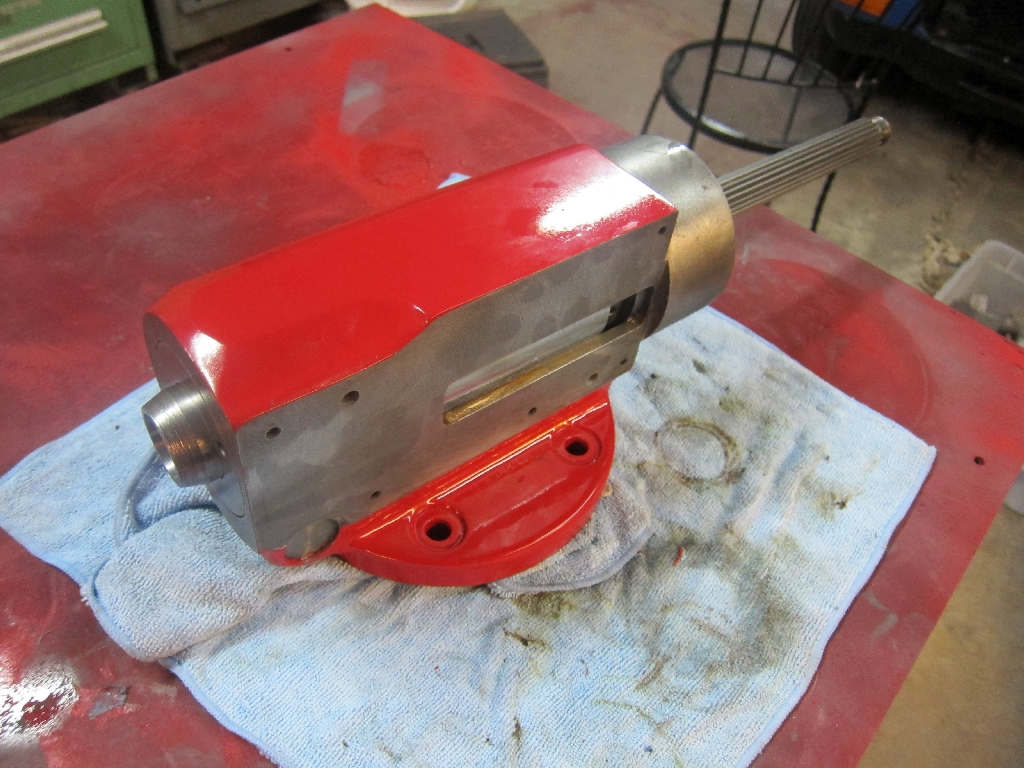
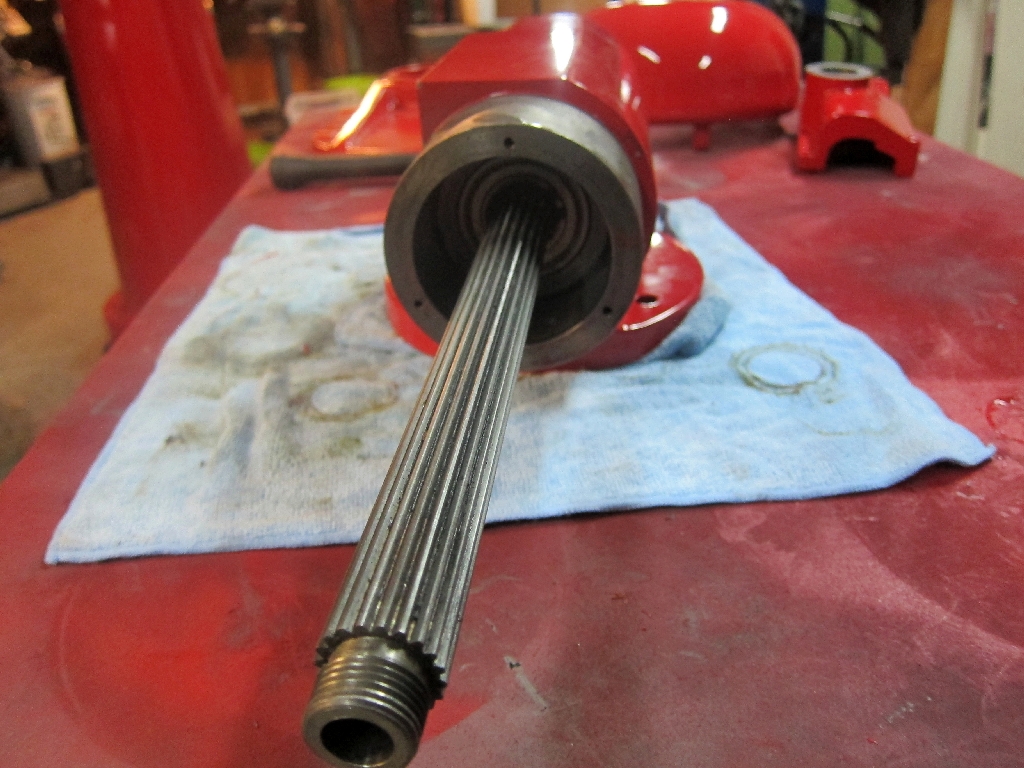
When you get the spindle all together, slide it back into the head
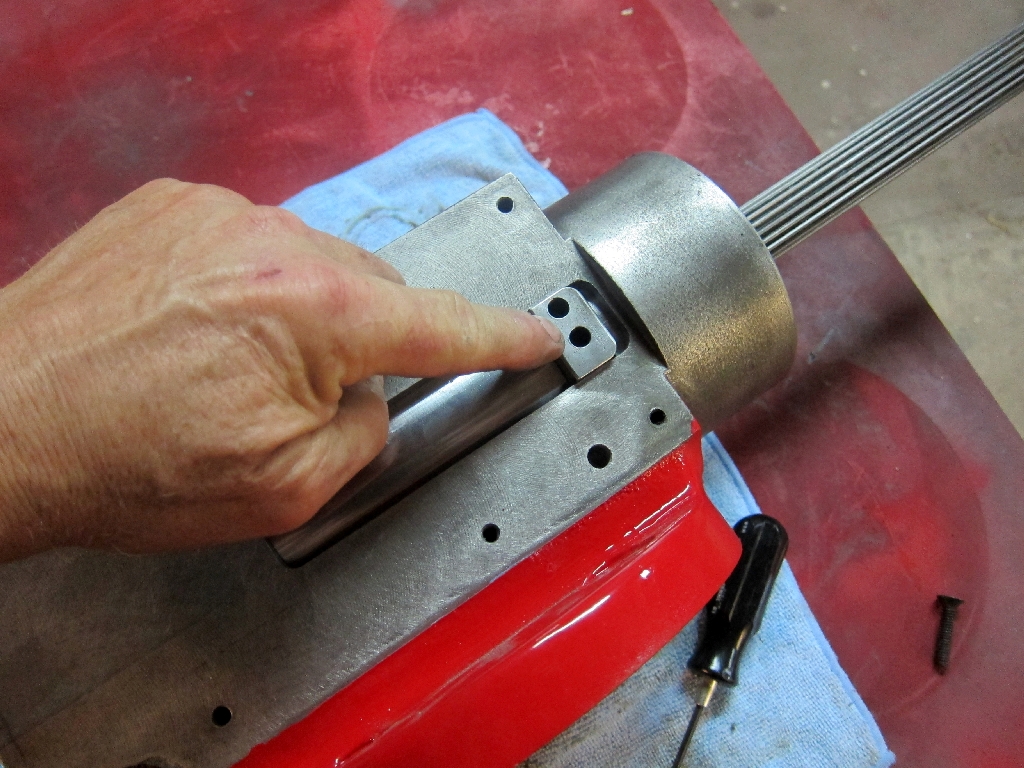
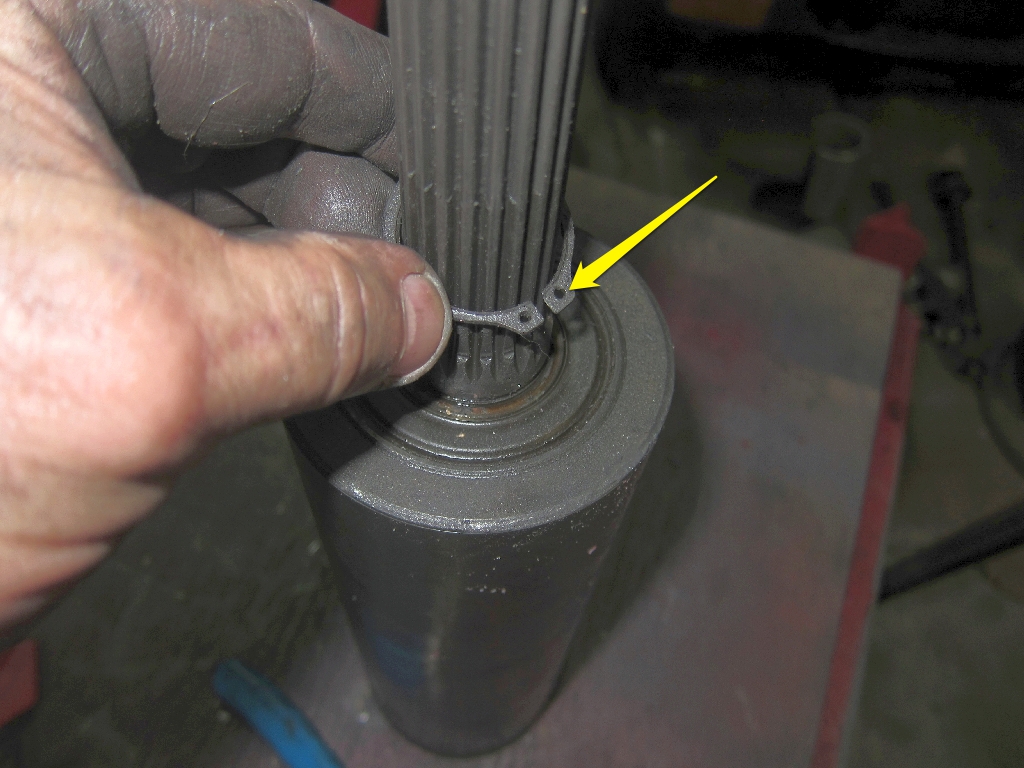
Put the spacer in noting that the holes are not centered. This shows the correct orientation.
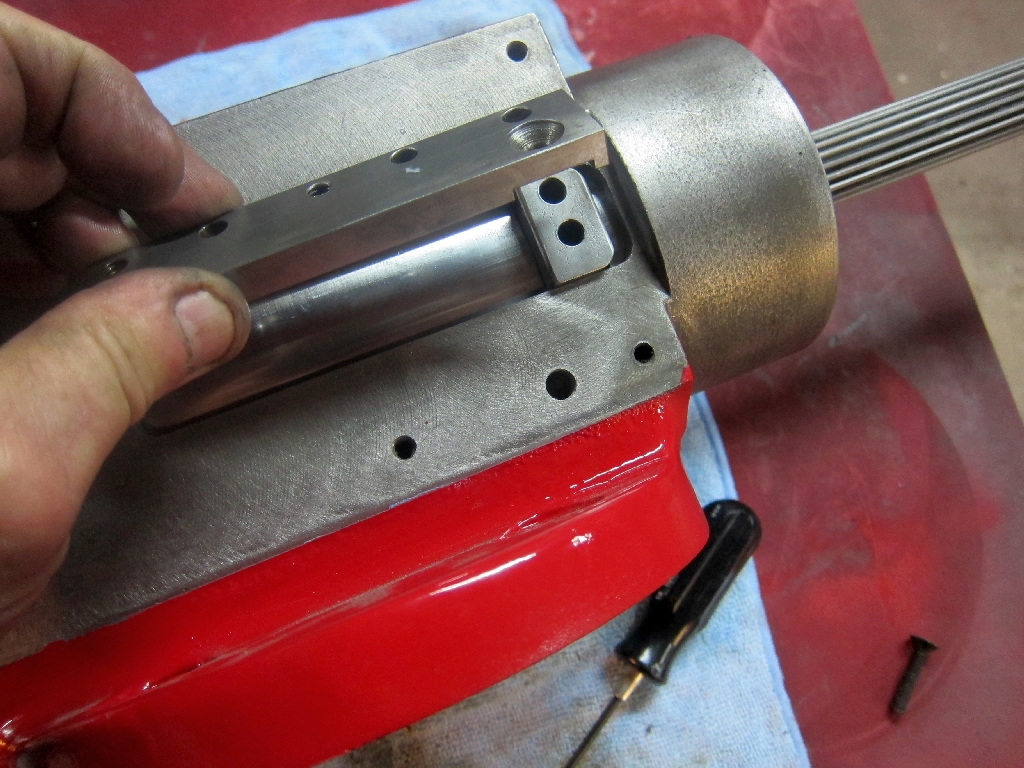
The rack mounting plate gets bolted to the spacer
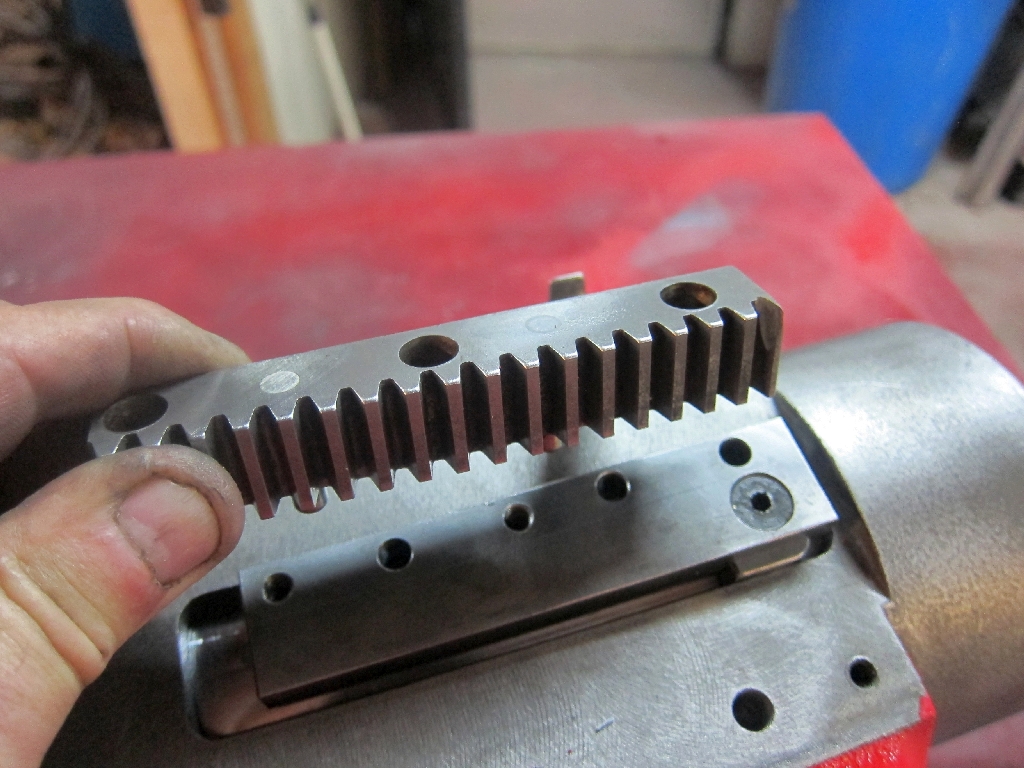
Next the rack gets bolted on.
The quill feed cover is ready for instalation.
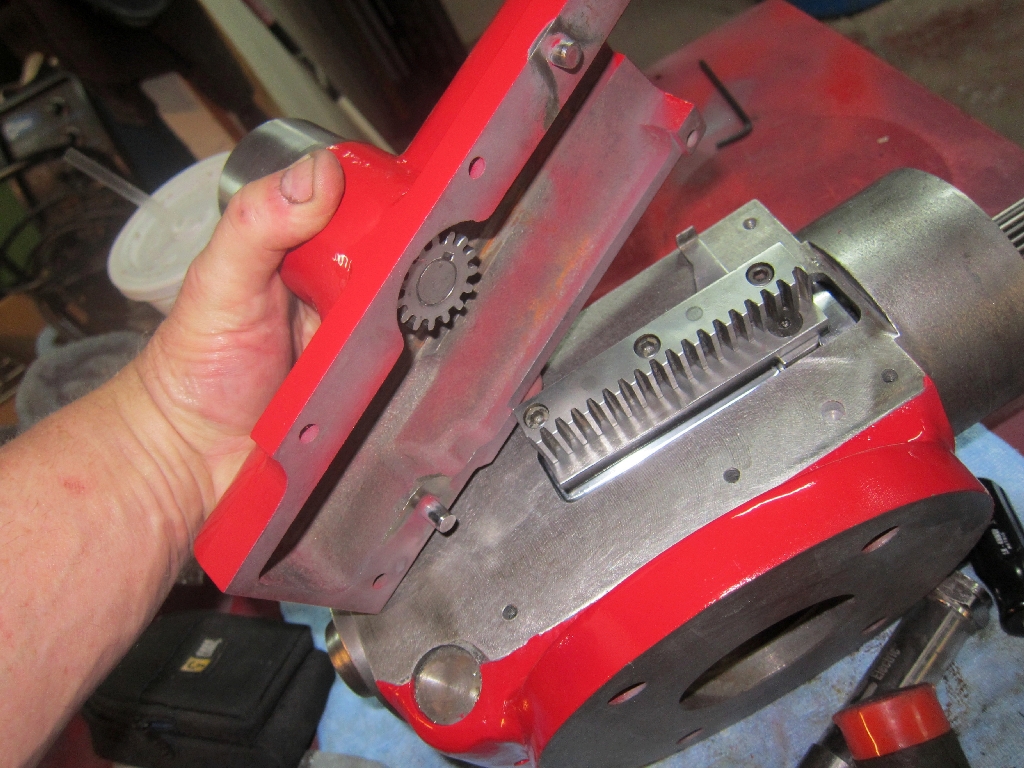
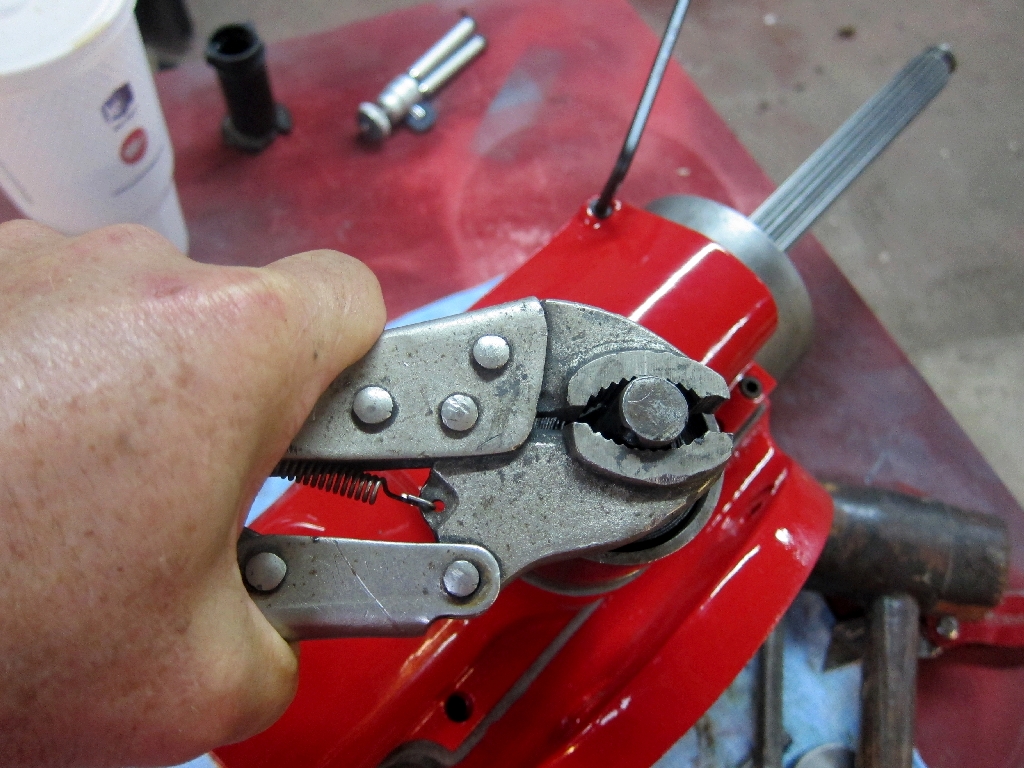
Here I am preloading the clock spring while putting the quill feed cover back on. Once you get the cover on engaging the gear into the rack, the spring will stay wound. My understanding in that the spring should not return the quill to the raised position, but should hold the quill in whatever position you lower it to.
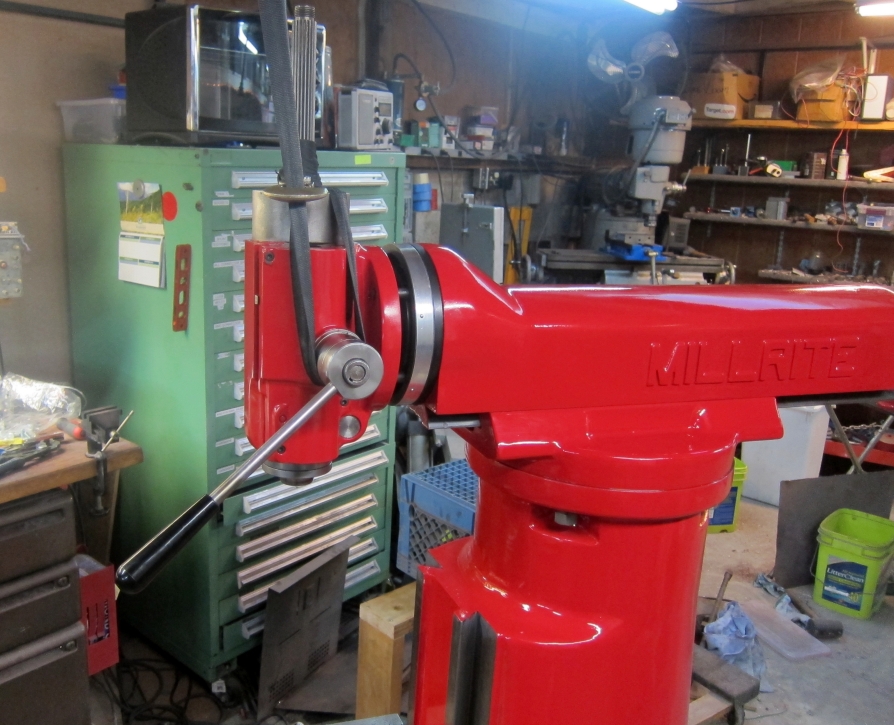
I decided to hook the head up the little hoist and bolt it back onto the ram before finishing the job.
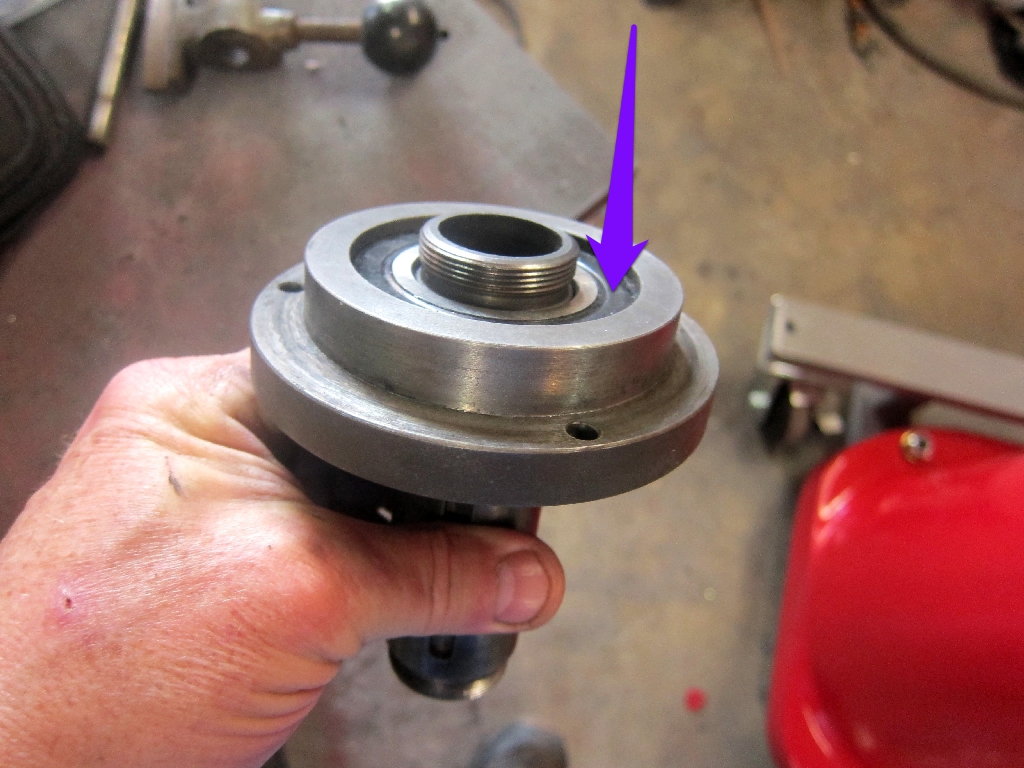
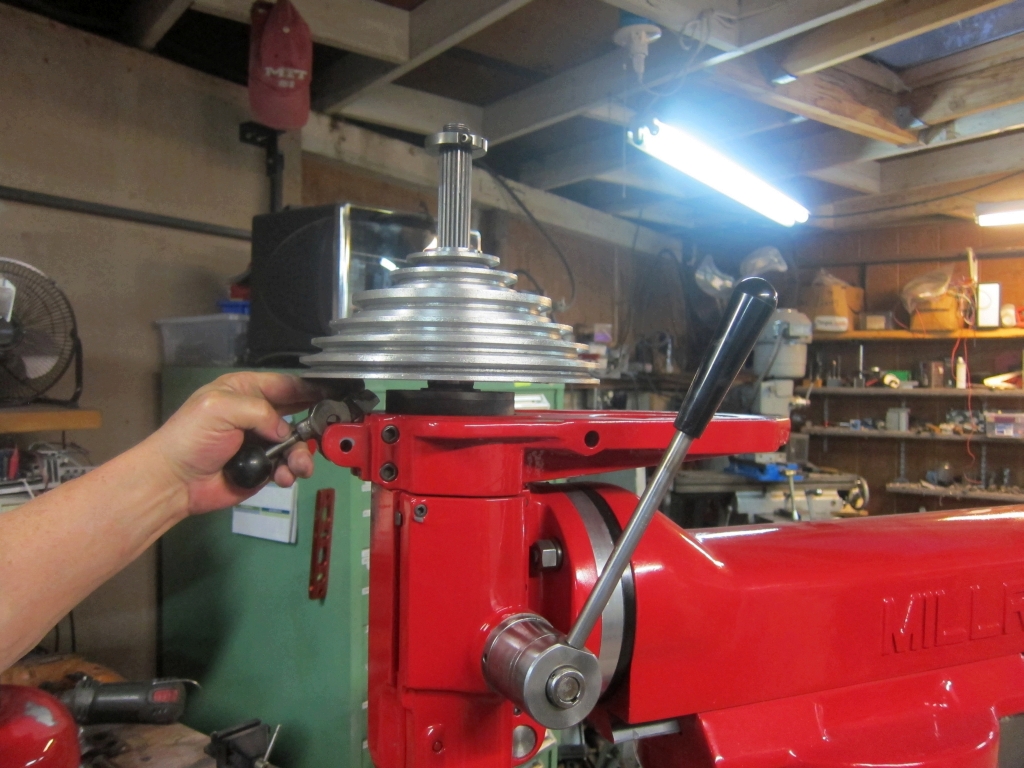
The pulley sleeve has a bearing in it. After unscrewing the pulley sleeve nut, the bearing can be pressed out and replaced.
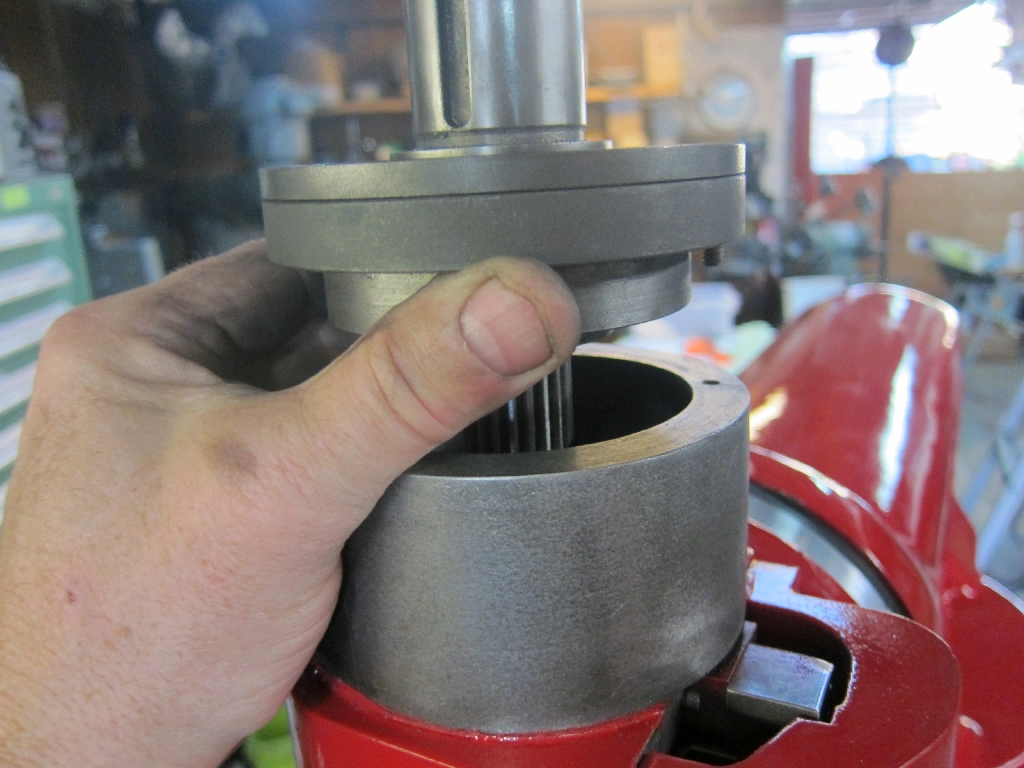
Replace the bearing cage cover and your ready to slip it over the spindle and bolt it to the top of the head
Slide the pulley over the sleeve and fasten it down with the pulley sleeve nut. Put the brake and its spring in and follow it with the pulley dome cover and ram the pin in and your done with the head.